Change the Ink Cartridge
To change the ink cartridge:
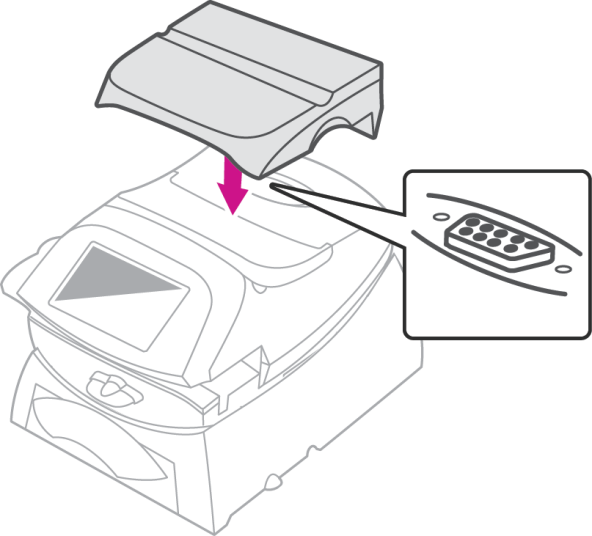
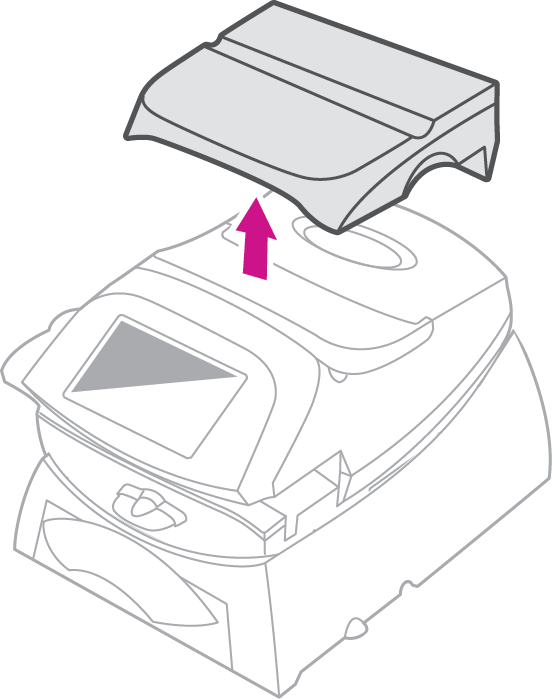
- Remove the weighing platform (if you are using one) by lifting it straight up.
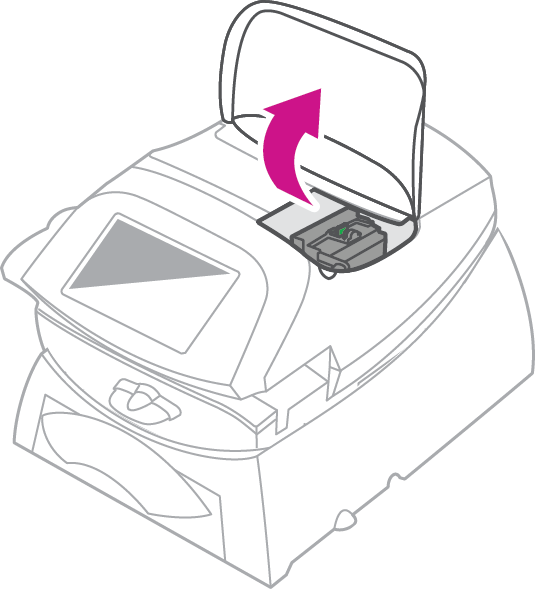
- Open the top cover.
- From the Home screen select Mail.
- Select the Options button from the list on the left.
- Select Maintenance Mode.
- Select Printer Maintenance.
- Select Replacement.
- Select Replace Ink Tank. This moves the print head and ink tank cartridge into position.
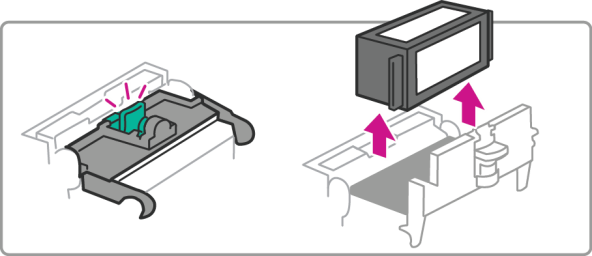
- Unlatch the ink tank cartridge guard by sliding the green lever to the right and flipping the guard open.
- Lift up and remove the ink tank cartridge.
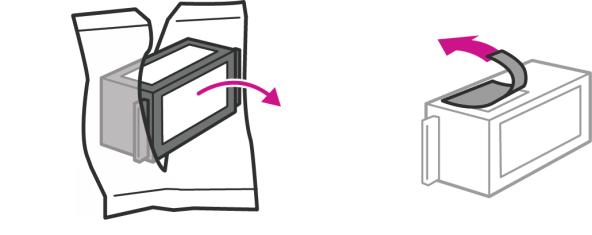
- Open new Ink tank packaging and remove tape on the bottom of the cartridge.
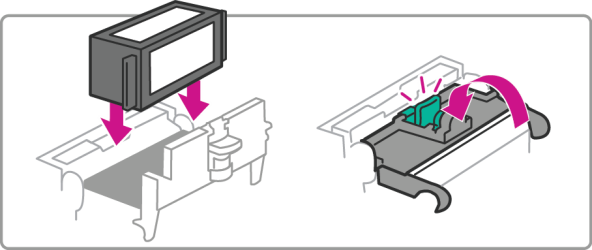
- Lower the ink cartridge into the cavity (the label on the top of the cartridge should face the front of your system). The ridges on either side of the cartridge will slide into the grooves.
- Close the ink cartridge guard and "click" to secure.
- Close the top cover and reposition the weighing platform. The machine resets and you are returned to the Home screen.