IMPORTANT: This procedure should only be done under the direction or with the permission of a Pitney Bowes representative. This procedure can also be used to reset the print head in response to a possible error condition.
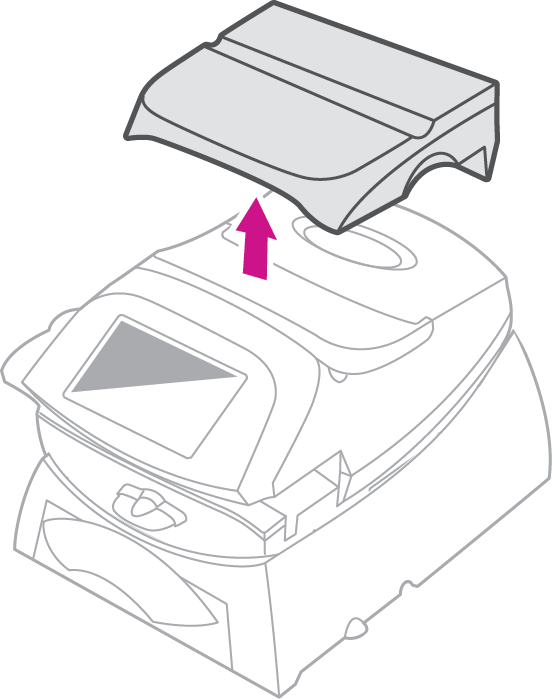
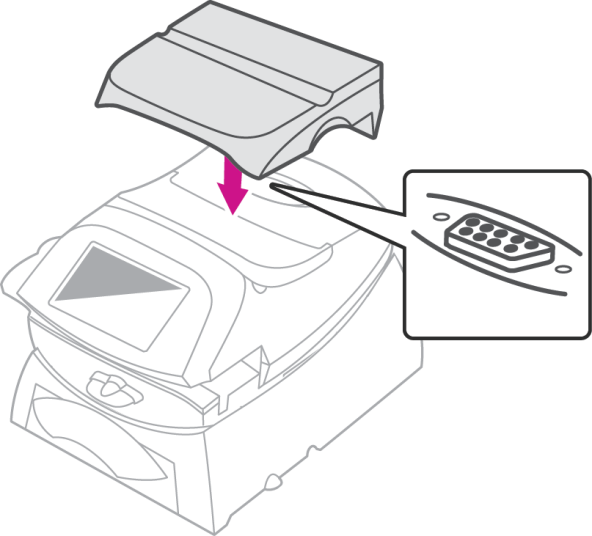
Remove the weighing platform by lifting it straight up.
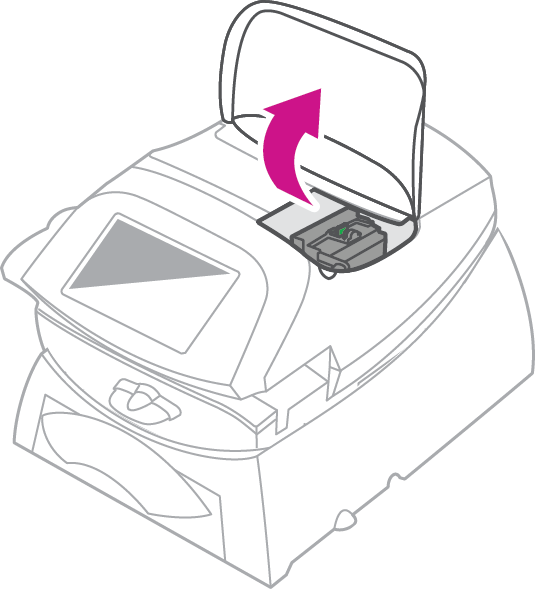
Open the top cover.
From the Home screen select Mail.
Select the Options button from the list on the left.
Select Maintenance Mode.
Select Printer Maintenance.
Select Replacement.
Select Replace Print Head. This moves the print head and ink tank cartridge into position.
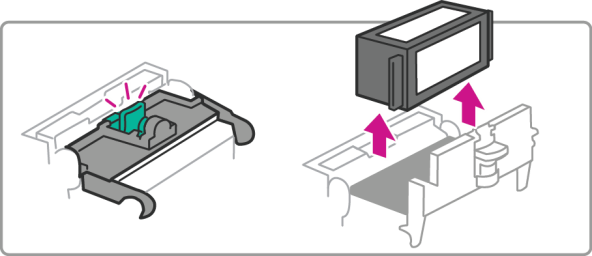
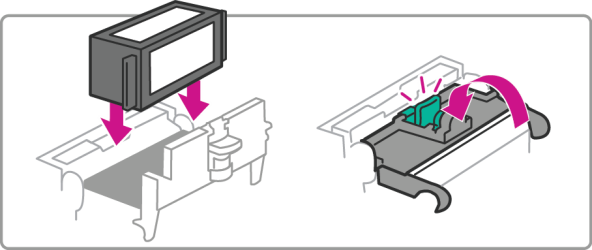
Unlatch the ink tank cartridge guard by sliding the green lever to the right and flipping the guard open.
Lift up and remove the ink tank cartridge and set aside.
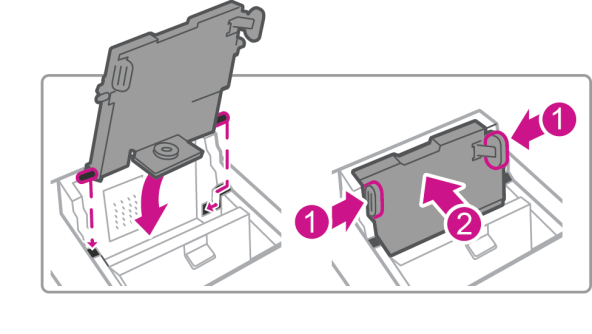
Squeeze in on the two gray tabs on either side of the print head so that they slide toward each other. While squeezing, lift and tilt the print head to the right toward the space for the ink tank cartridge. The print head should lift up and out of the machine.
Remove the new print head from the packaging. Remove the protective tape or the black cap from the bottom of the new print head.
Align the tabs in the print head with the lower set of groves in the machine. Squeeze the tabs and push the print head flush against the walls until it secures in place.
Replace the ink cartridge and close the ink tank cartridge guard.
Close the top cover and reposition the weighing platform. The machine resets and you are returned to the Home screen.